
Explore / The complete issue archive

EVERY ISSUE.
EVERY SIGNAL.

Browse all 20 numbered issues, from the first HGH post through the latest brain-signal stories.

Every locally saved original image is included. Some earlier issue folders contain selected frames rather than a complete carousel.
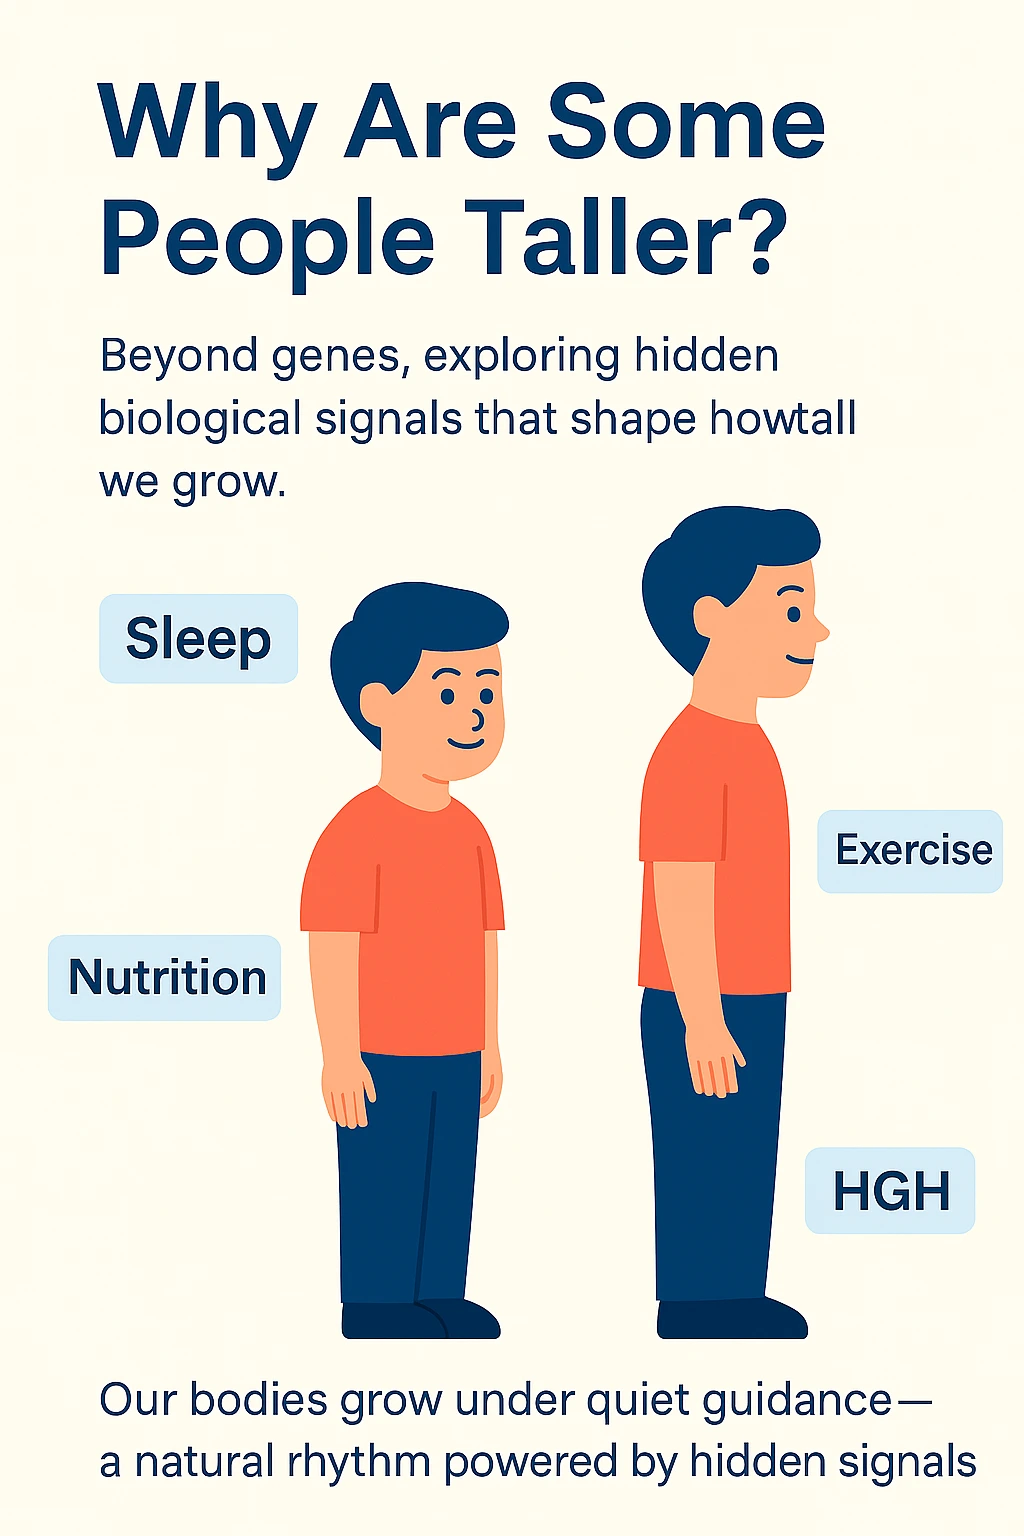
Two people of different heights with labels for sleep, exercise, nutrition and HGH.
Issue 01 · Repair & growth

HGH

An early visual story about growth signals.

4 saved frames
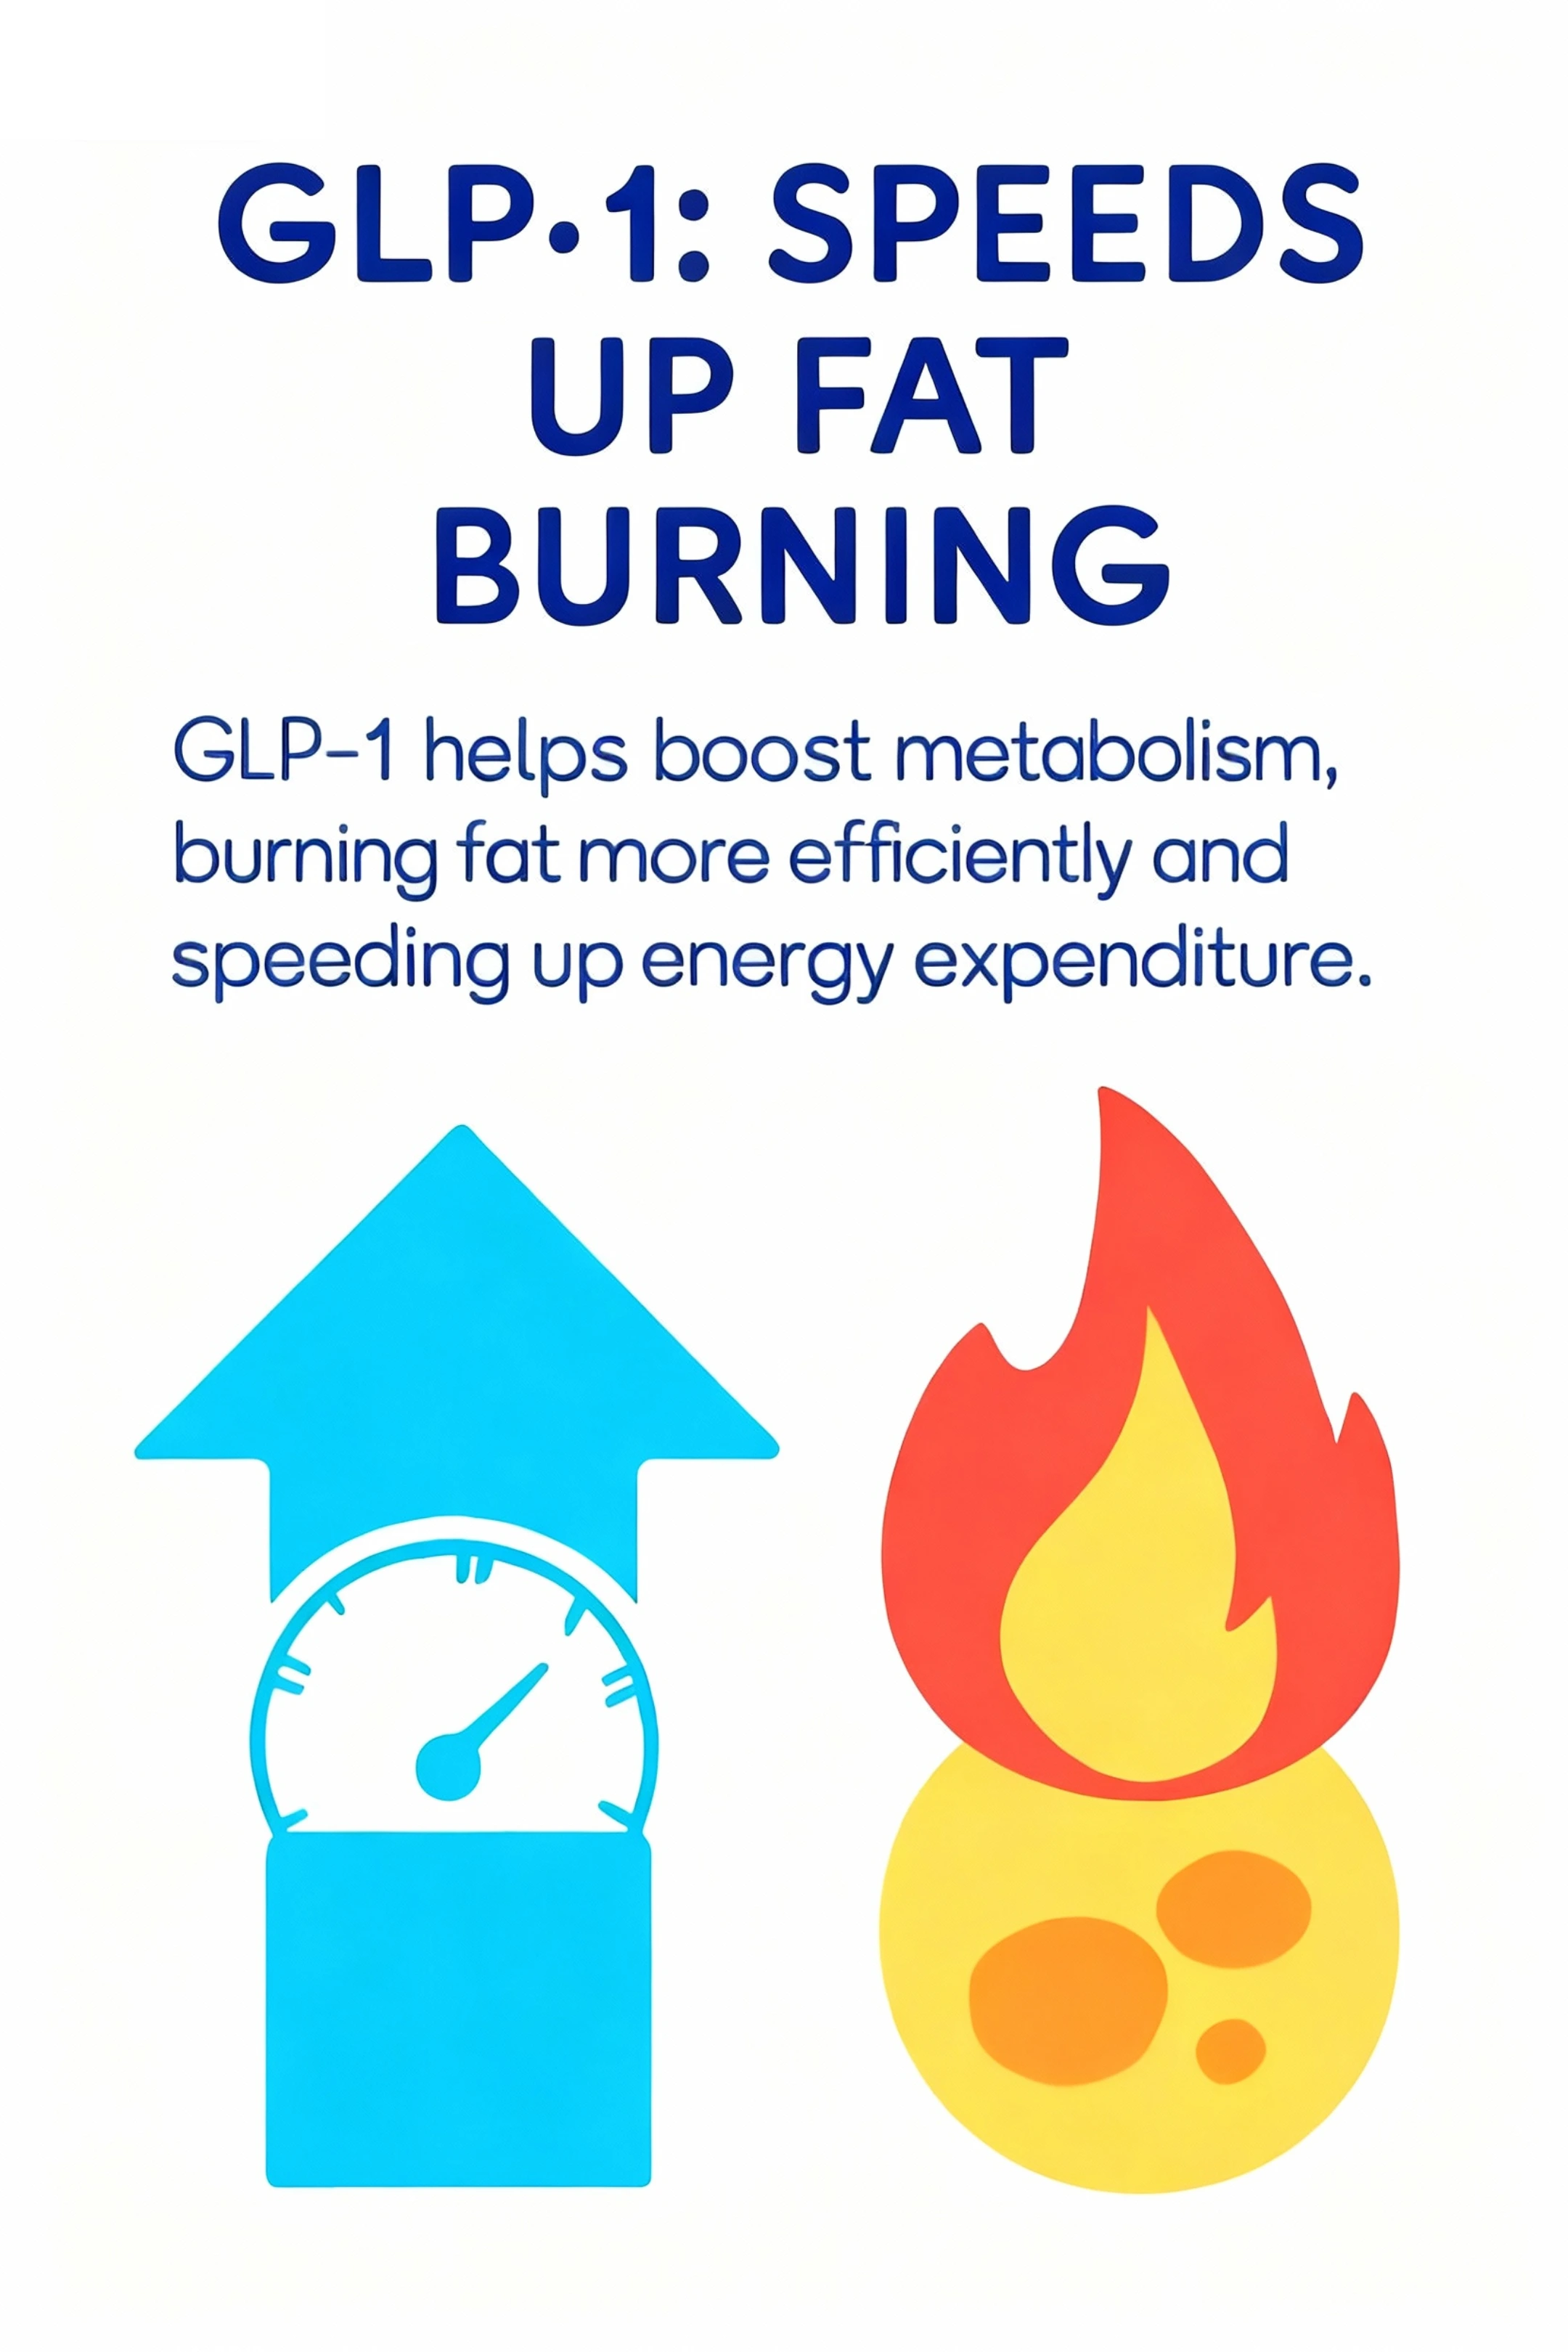
A scale, upward arrow and flame in the original GLP-1 metabolism infographic.
Issue 02 · Metabolism & satiety

GLP-1

The account’s first GLP-1 hormone explainer.

1 saved frame
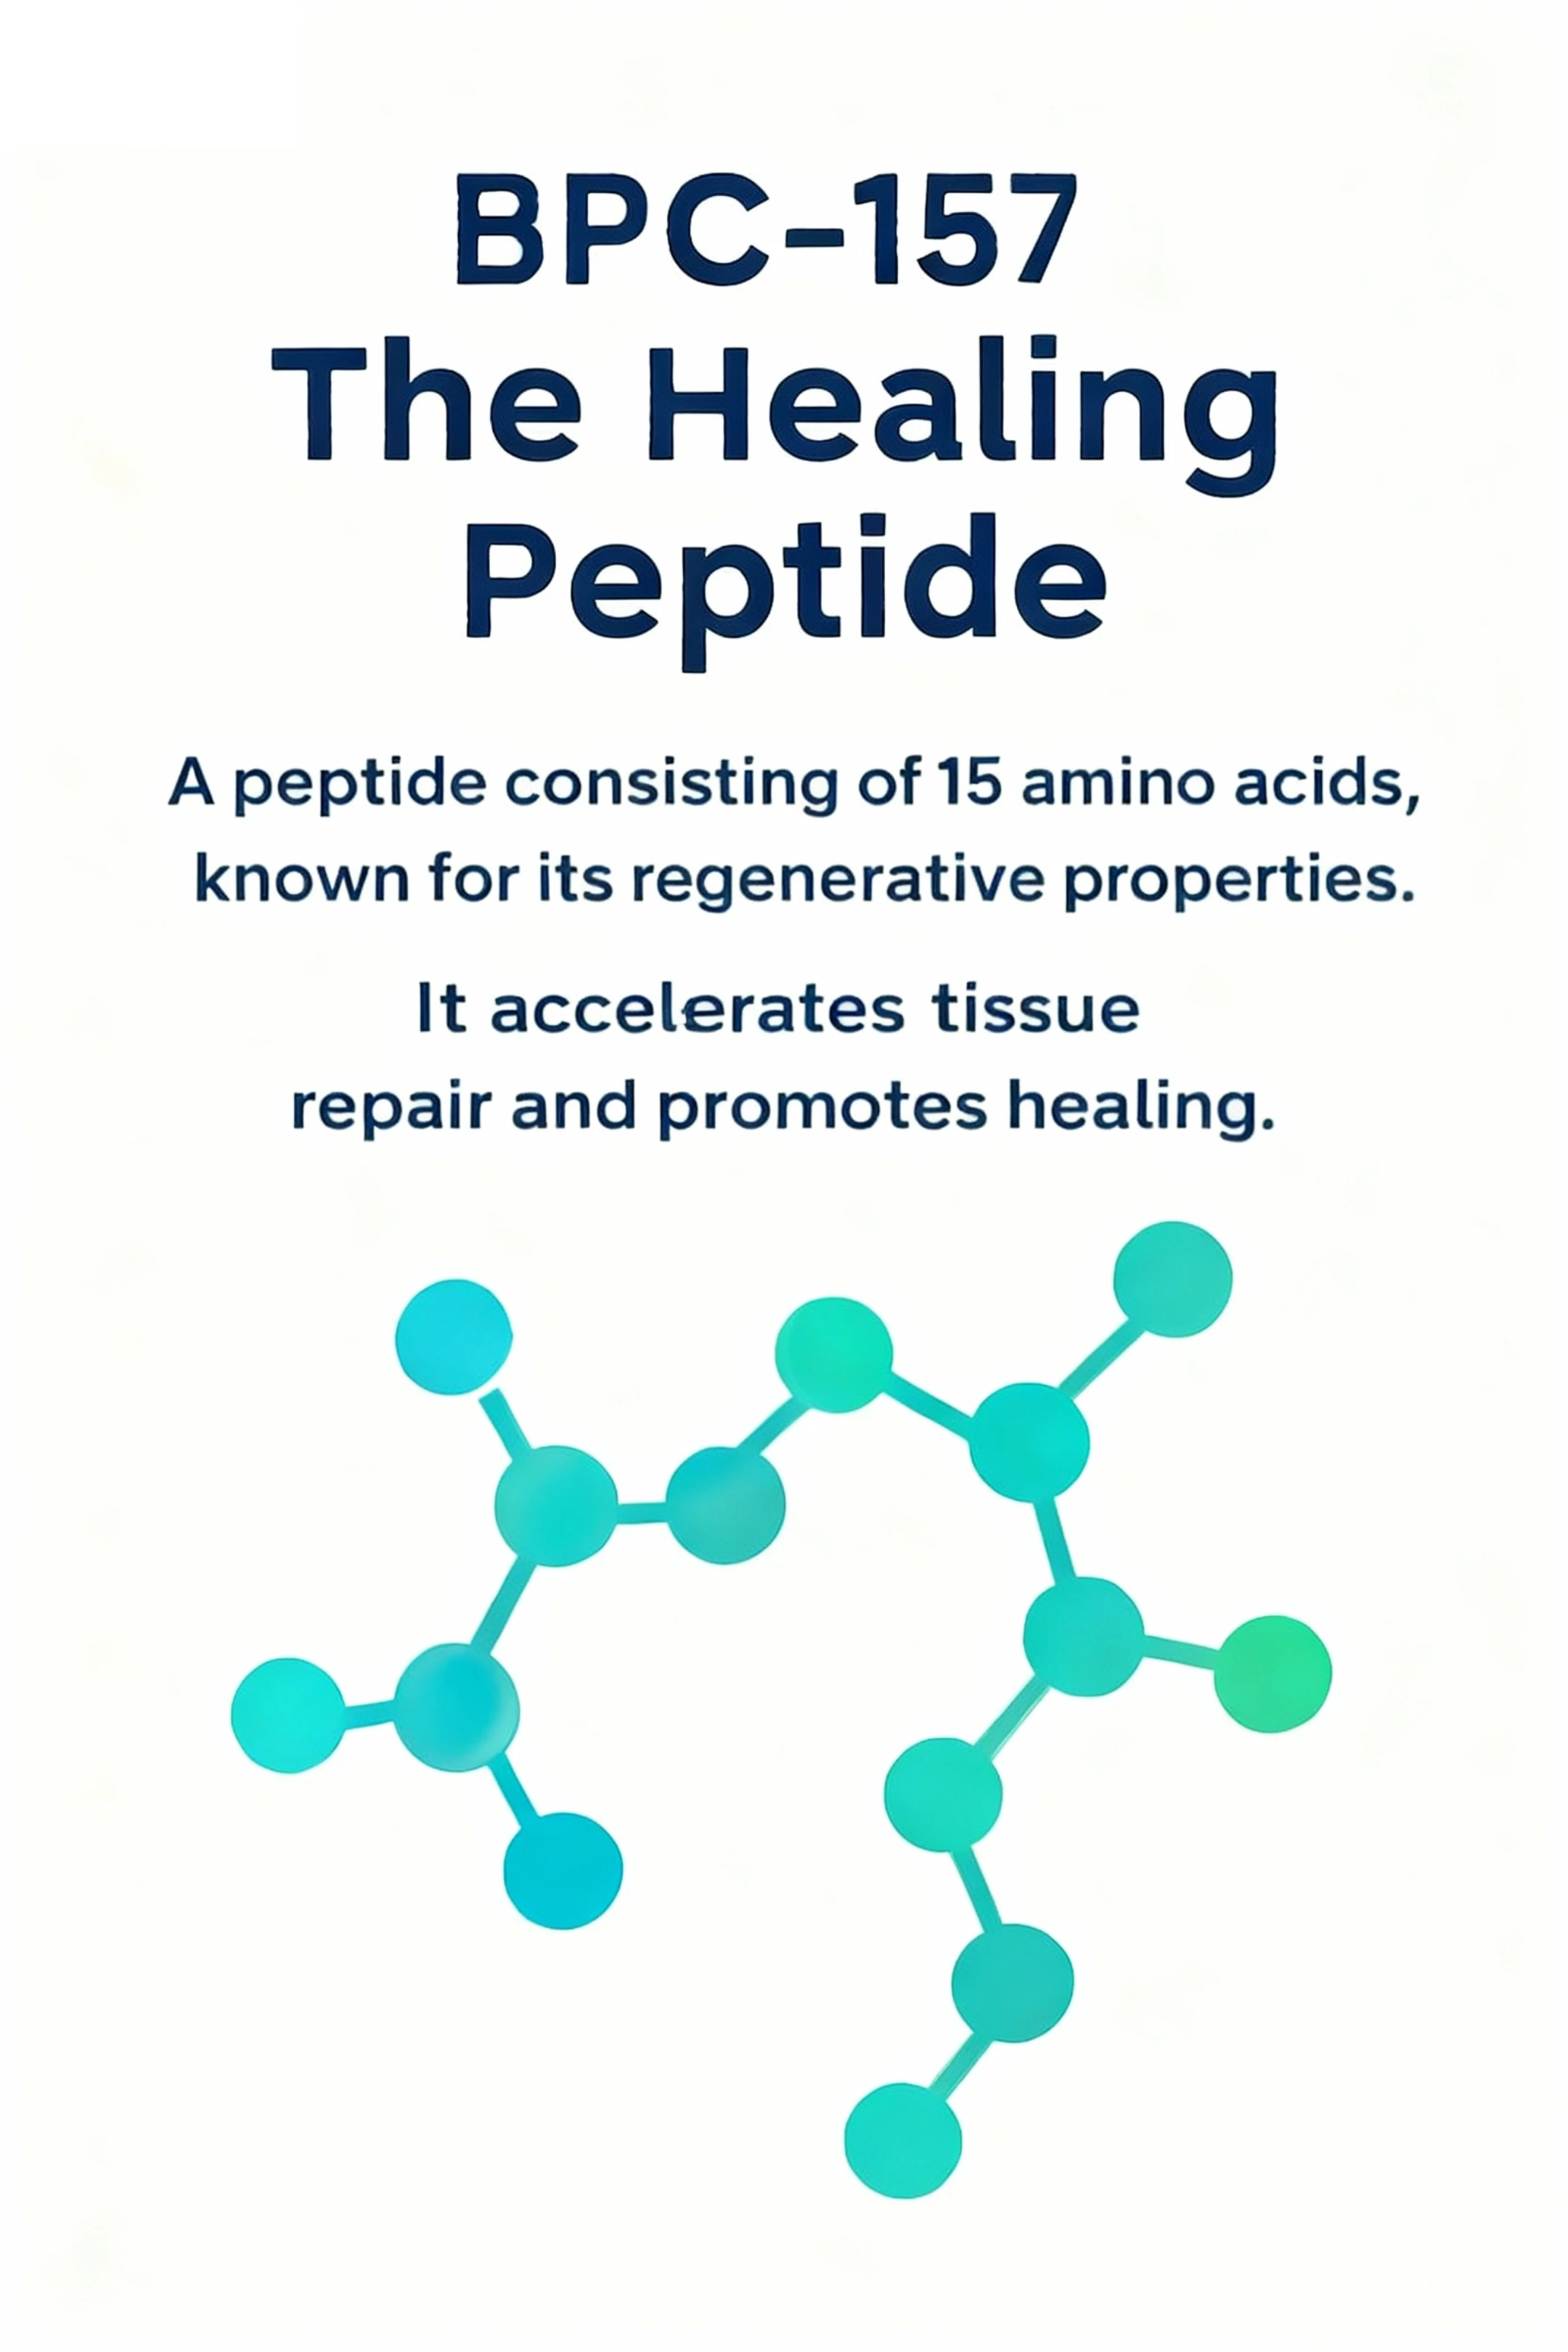
BPC-157 introduction with a stylized chain representing its 15 amino acids.
Issue 03 · Repair & growth

BPC-157

An early look at tissue-repair research.

3 saved frames
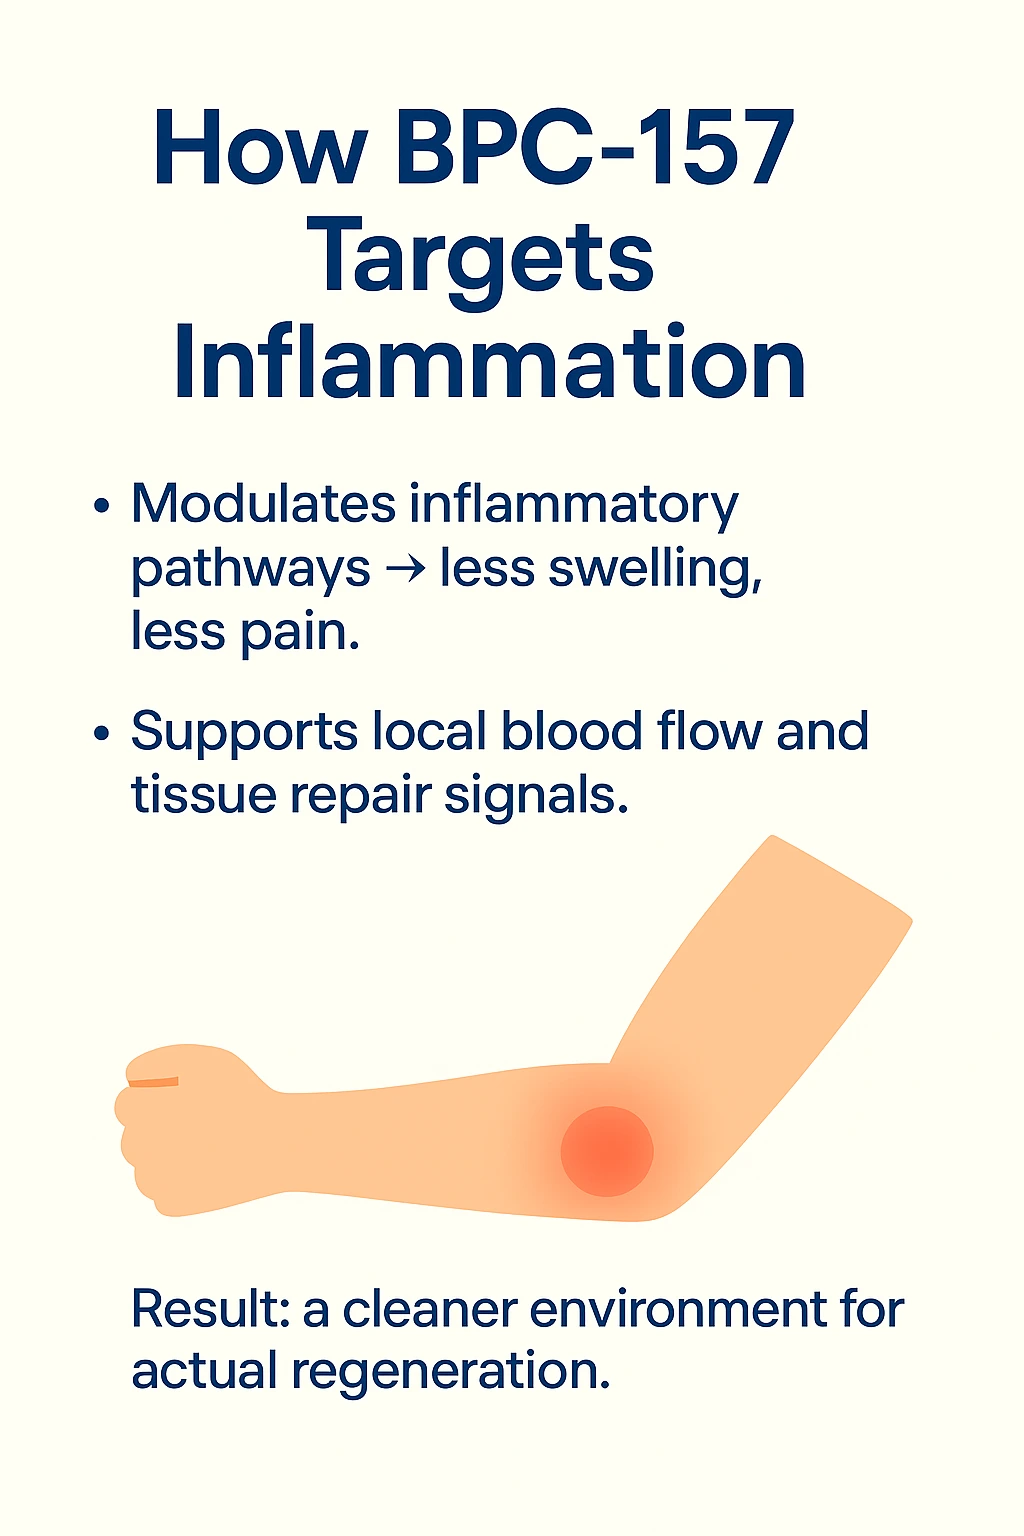
An elbow with a highlighted inflammatory area in a BPC-157 pathway illustration.
Issue 04 · Repair & growth

BPC-157 · Inflammation

A mechanism-focused follow-up.

2 saved frames
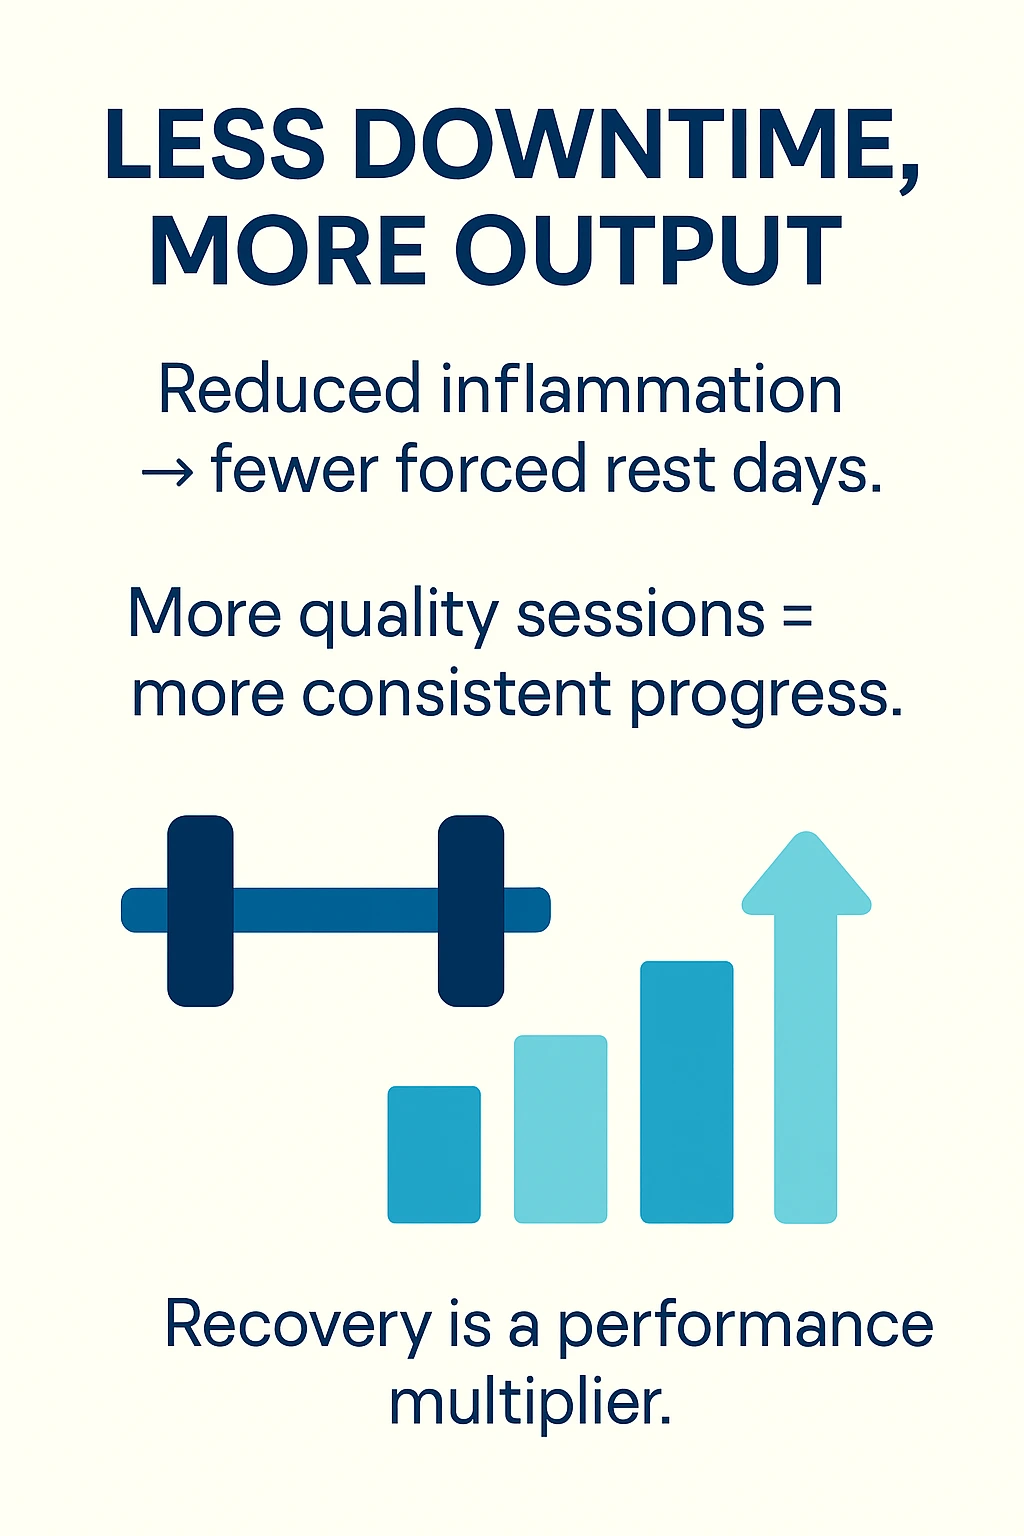
A dumbbell and rising bar chart used to illustrate the original recovery-and-training metaphor.
Issue 05 · Repair & growth

BPC-157 · Recovery

The third early BPC-157 story.

3 saved frames
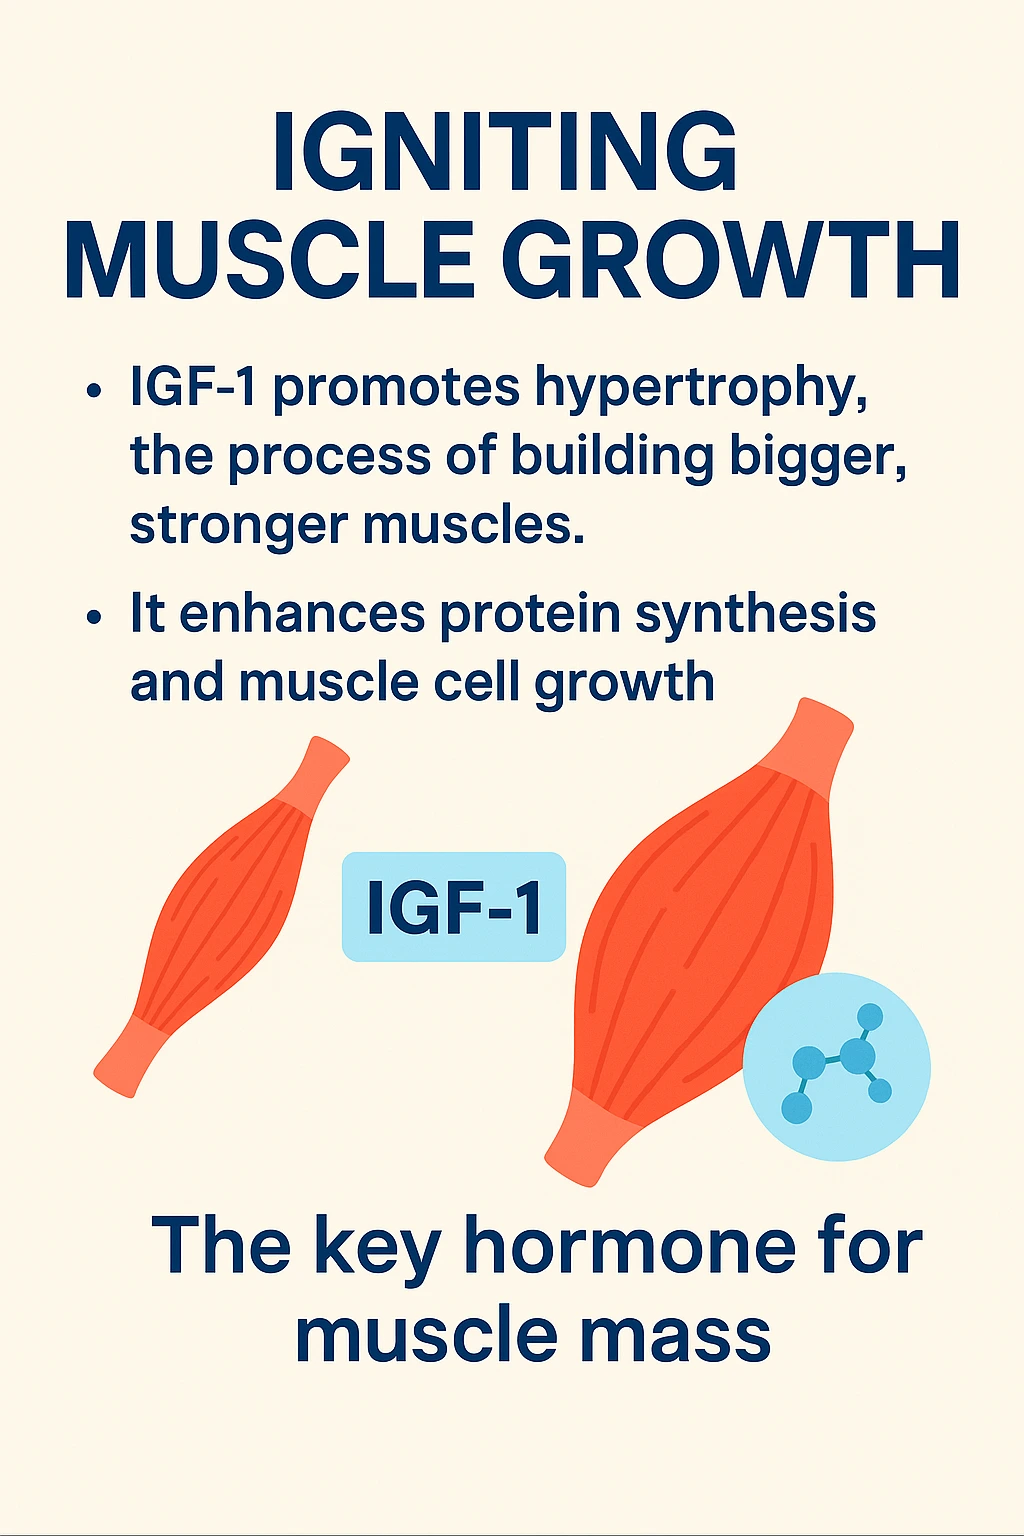
Two muscle illustrations surrounding an IGF-1 label in an archived growth-signaling graphic.
Issue 06 · Repair & growth

IGF-1

A visual introduction to the IGF-1 pathway.

3 saved frames
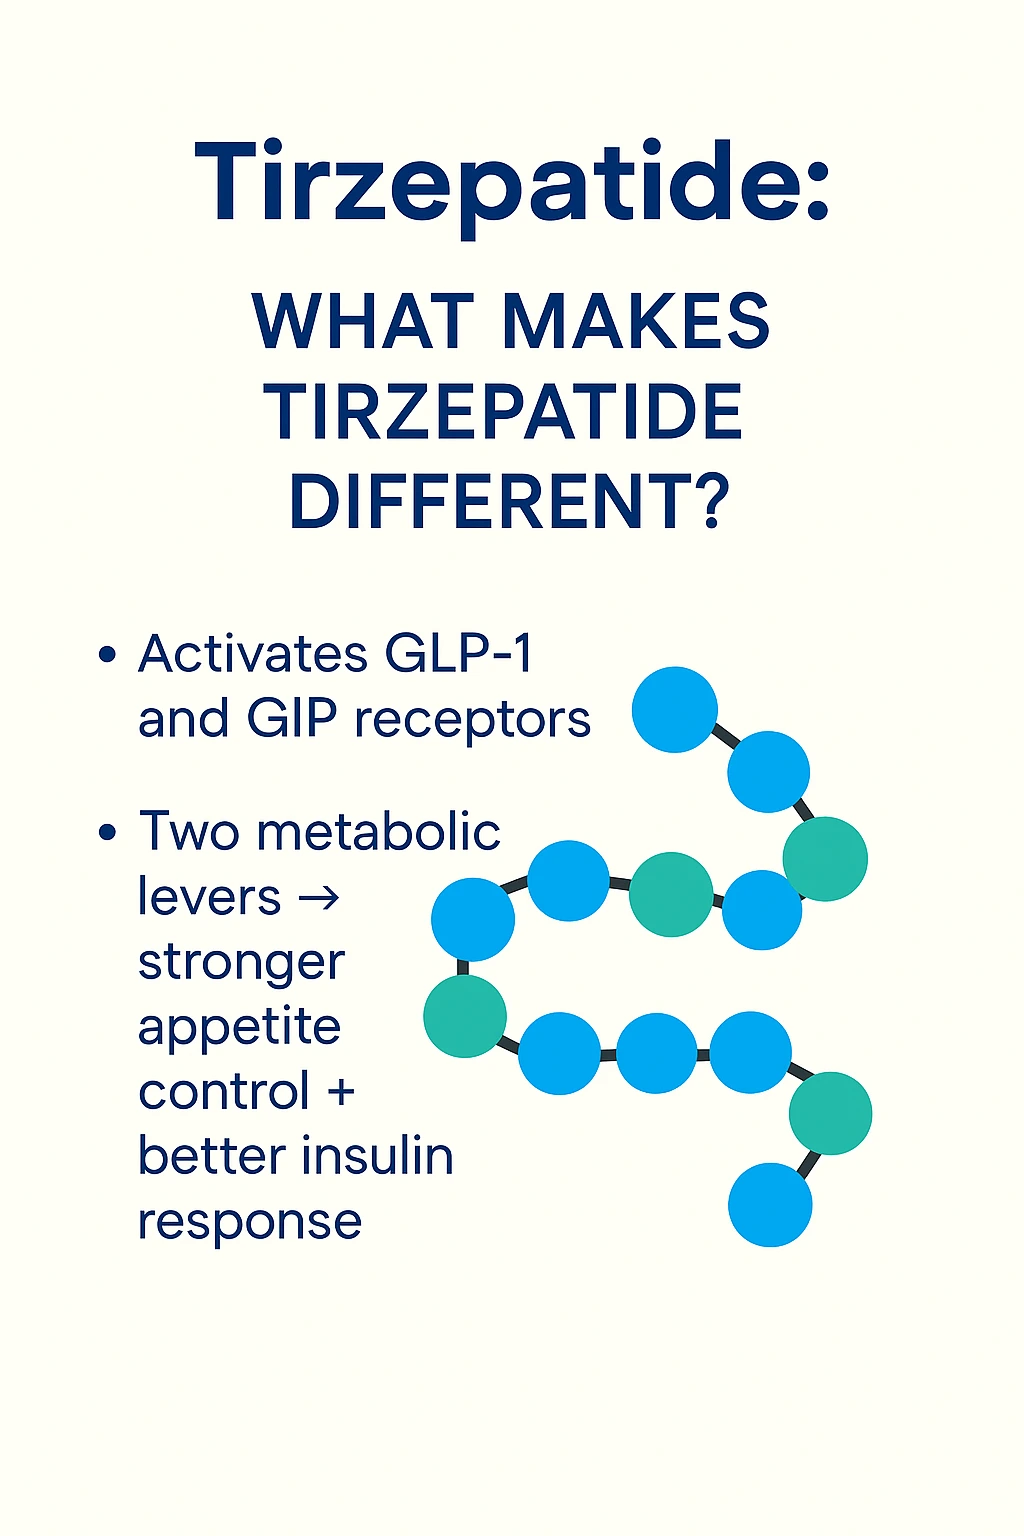
Tirzepatide introduction naming GLP-1 and GIP receptors beside a stylized peptide chain.
Issue 07 · Metabolism & satiety

Tirzepatide

The GLP-1 and GIP signals, side by side.

3 saved frames
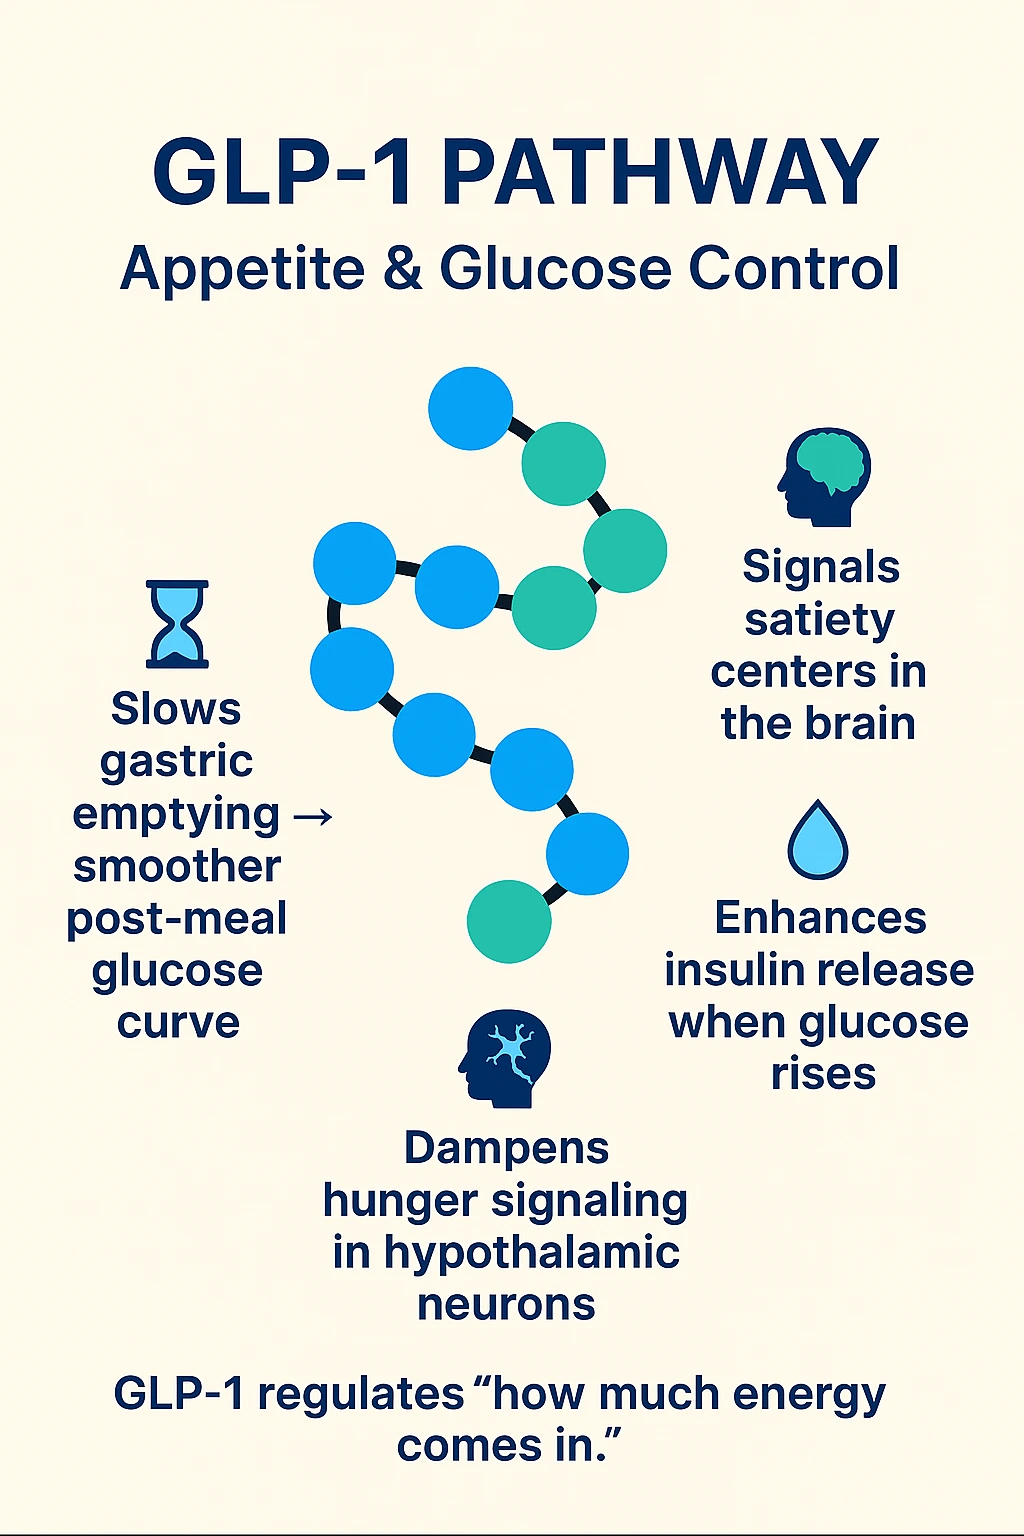
Retatrutide series illustration of GLP-1 signaling with stomach, brain and pancreas icons.
Issue 08 · Metabolism & satiety

Retatrutide

See GLP-1, GIP and glucagon as three research signals.

2 saved frames
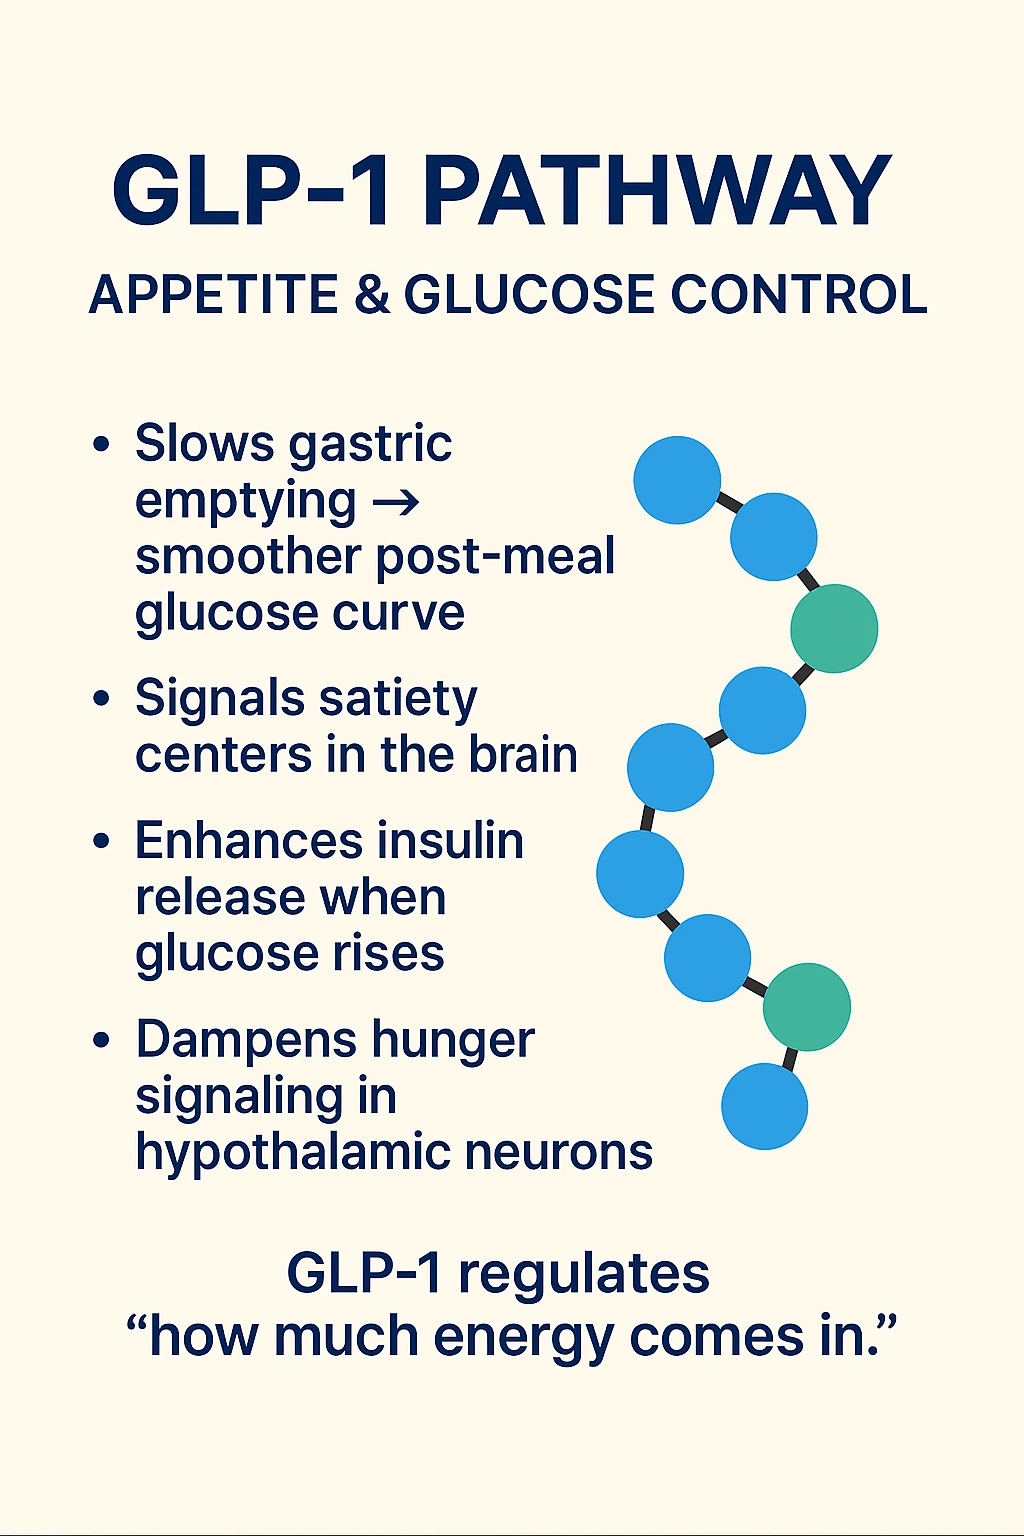
GLP-1 pathway follow-up graphic with a peptide chain and appetite-and-glucose signaling notes.
Issue 08-2 · Metabolism & satiety

Retatrutide · Follow-up

A second set of Retatrutide pathway visuals.

3 saved frames
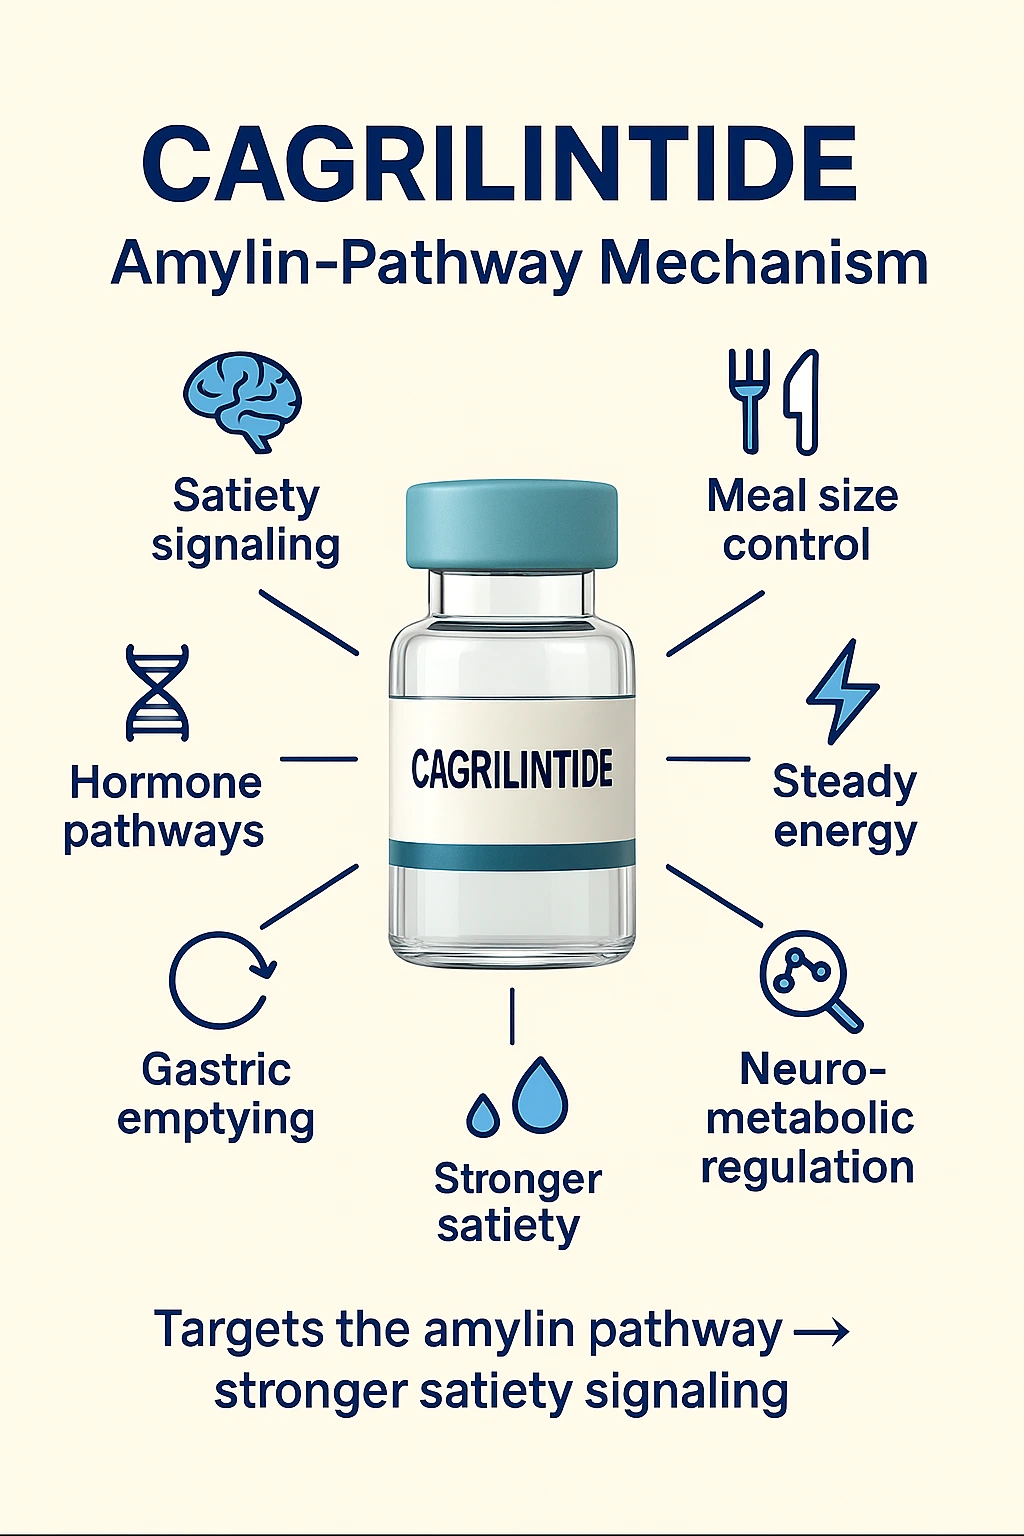
Cagrilintide amylin-pathway overview surrounded by brain, meal-size and gastric-emptying icons.
Issue 09 · Metabolism & satiety

Cagrilintide

Satiety and meal-size signaling in the original carousel.

3 saved frames
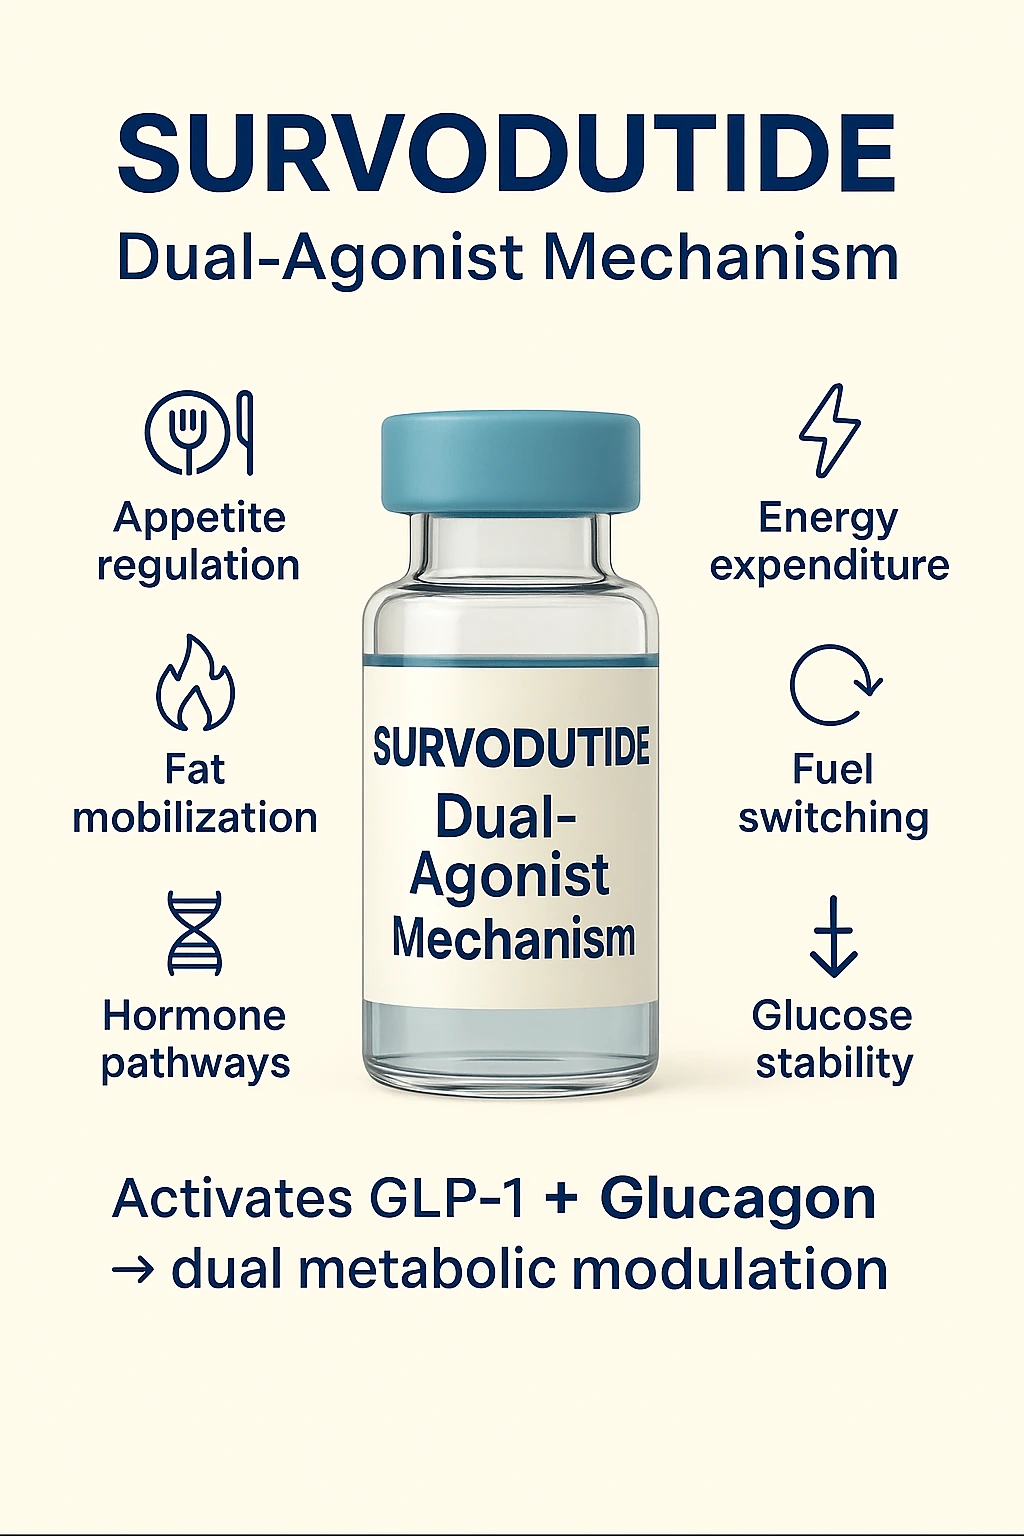
Survodutide dual-agonist overview with appetite, energy and hormone-pathway icons.
Issue 10 · Metabolism & satiety

Survodutide

The dual-agonist mechanism, drawn as two roles.

4 saved frames
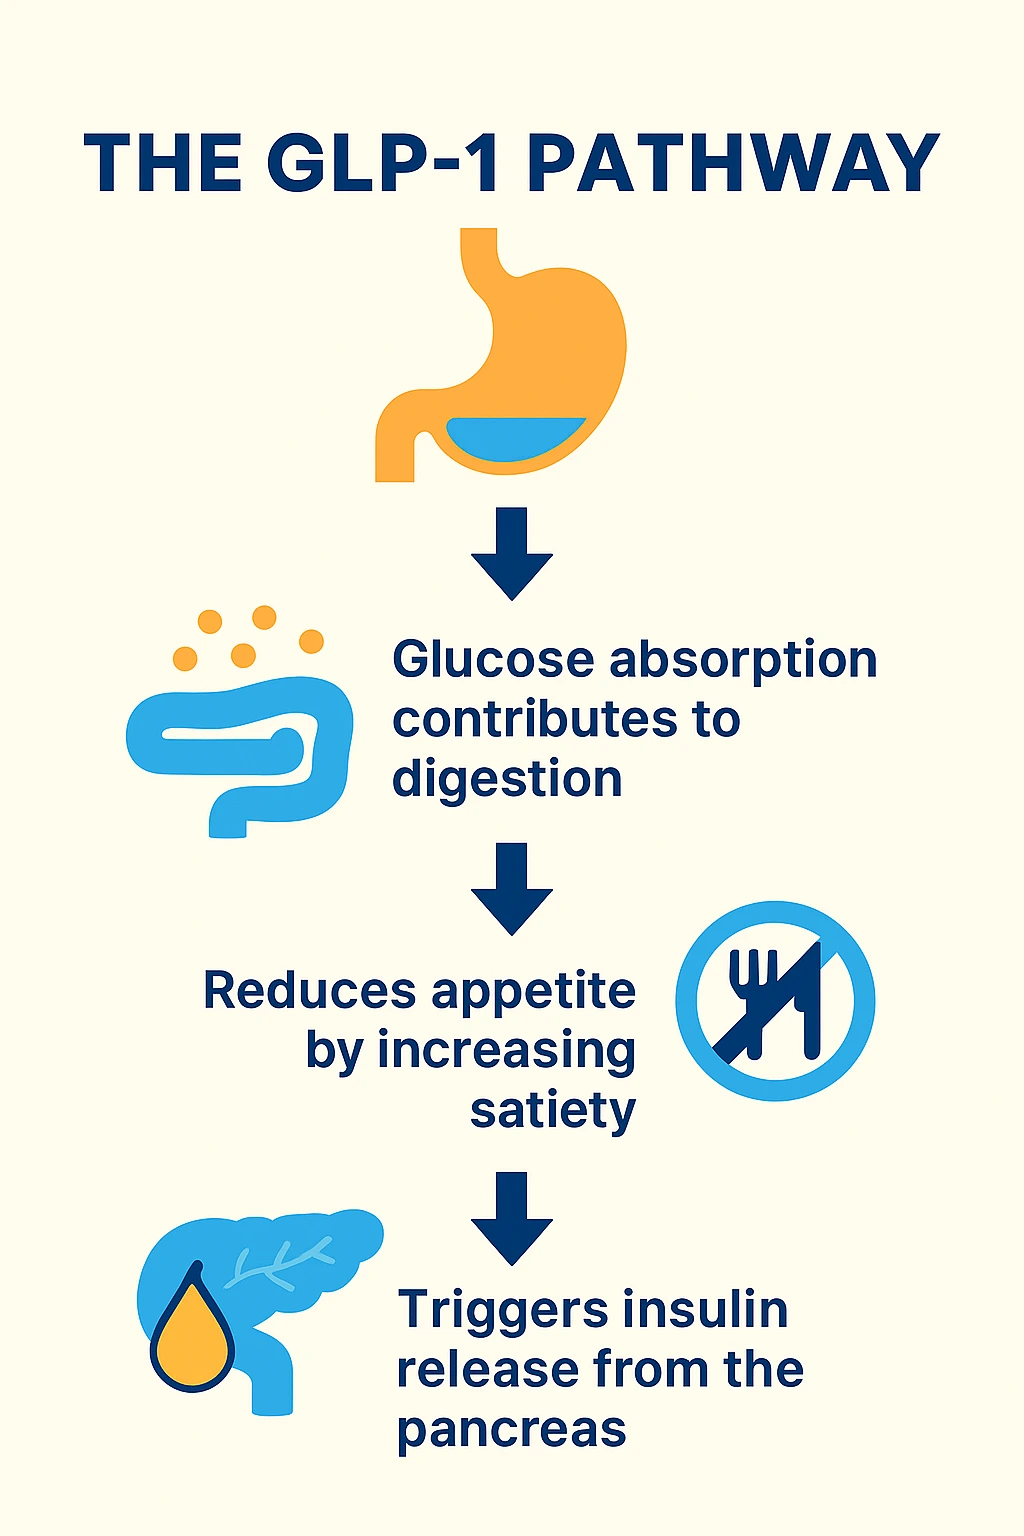
Stomach, intestine and pancreas icons in the archived Mazdutide GLP-1 pathway diagram.
Issue 11 · Metabolism & satiety

Mazdutide

A receptor-by-receptor metabolism explainer.

3 saved frames
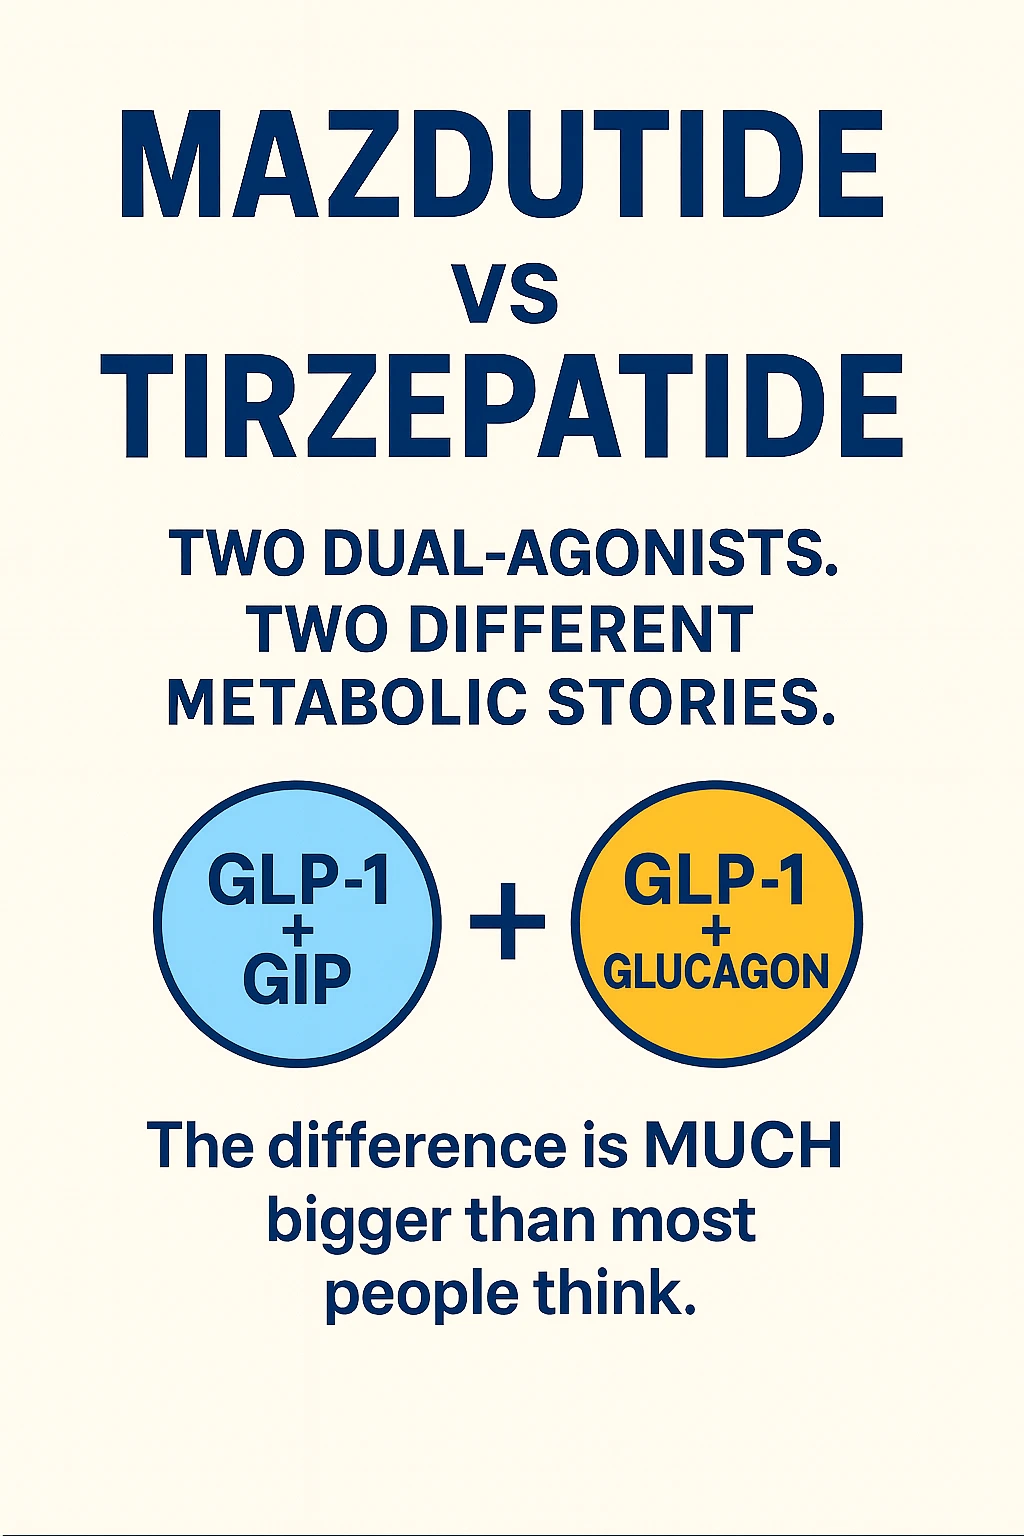
Opening graphic for the archived Mazdutide versus Tirzepatide dual-agonist comparison.
Issue 11-2 · Metabolism & satiety

Mazdutide / Tirzepatide

A direct comparison from the original series.

4 saved frames
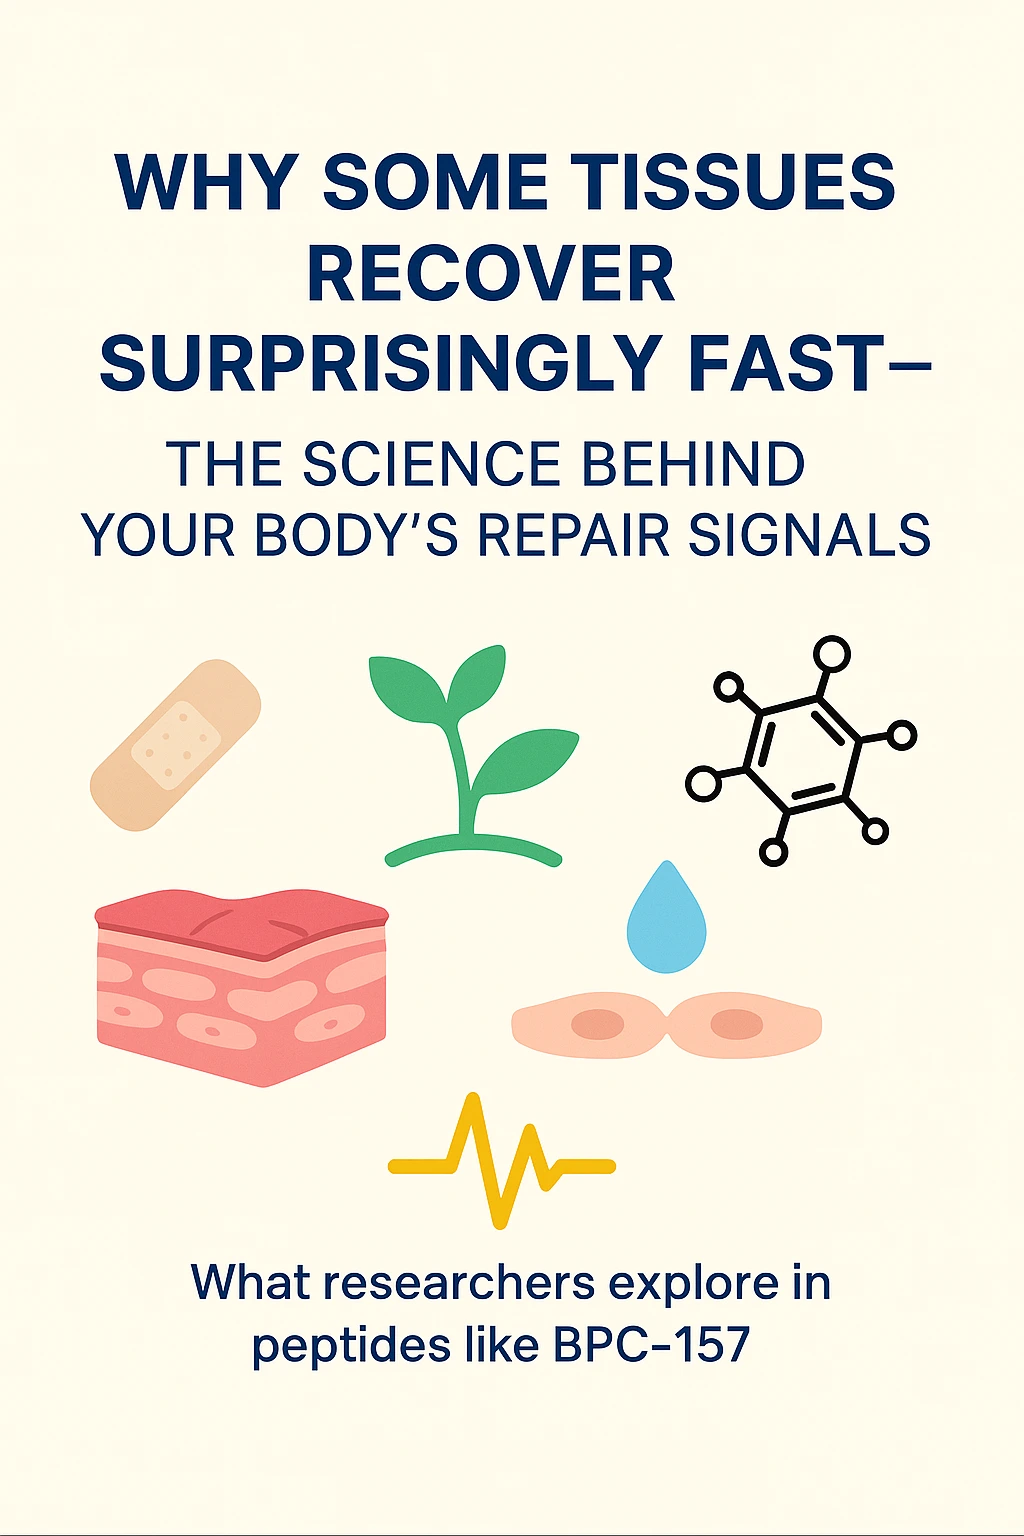
Skin, cells, a bandage and a peptide diagram introducing tissue-repair research questions.
Issue 12 · Repair & growth

BPC-157 · Repair signals

A later BPC-157 mechanism story.

3 saved frames
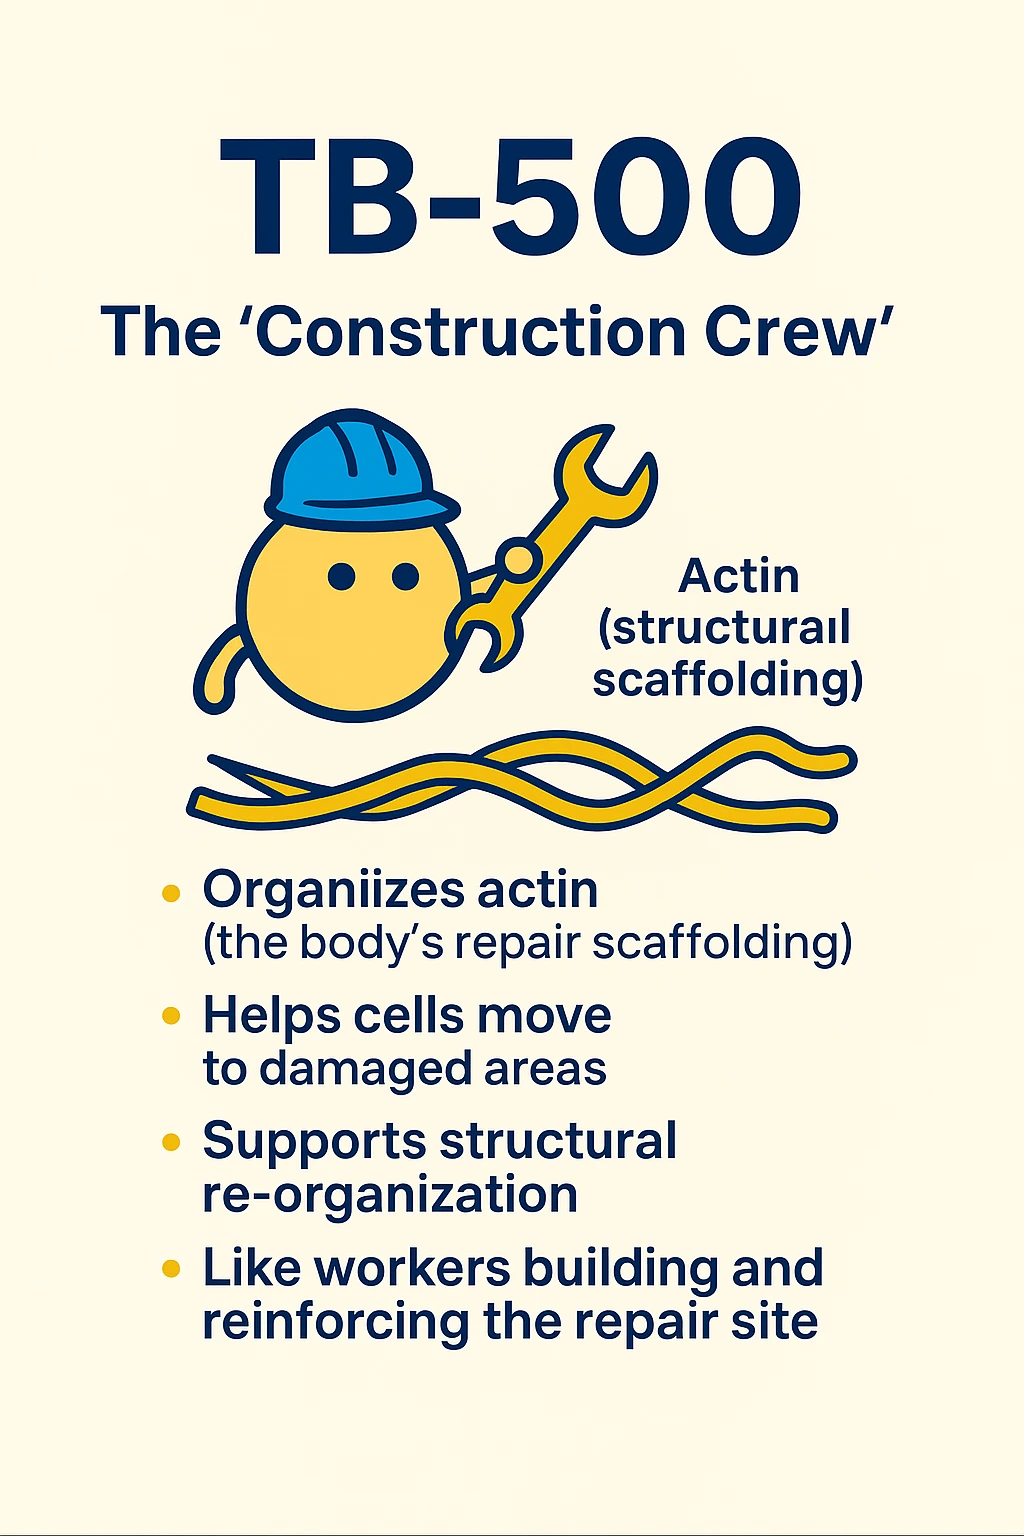
TB-500 illustrated as a construction worker beside actin scaffolding in the BPC-157 and TB-500 comparison.
Issue 13 · Repair & growth

BPC-157 + TB-500

The coordinator and the construction crew, with the limits in view.

1 saved frame
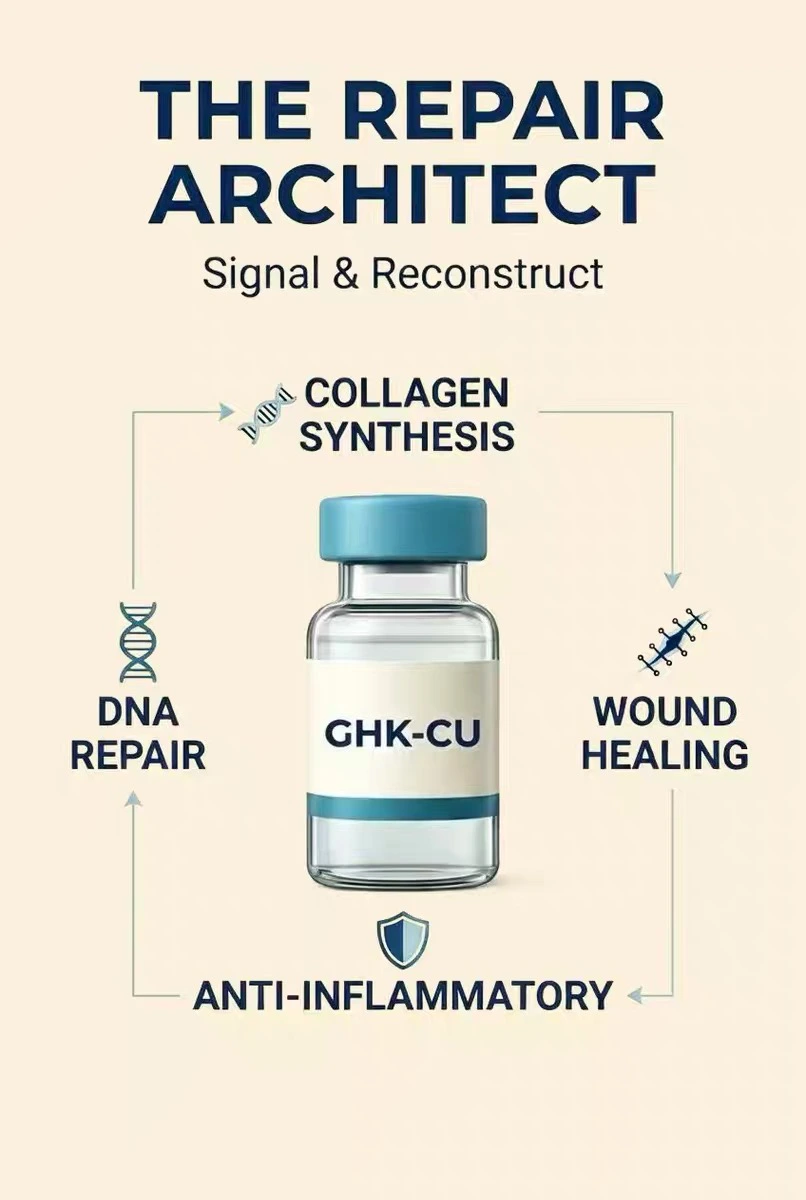
GHK-Cu pictured as a repair architect with collagen, DNA and wound-related icons.
Issue 14 · Repair & growth

GHK-Cu

A copper-peptide visual metaphor.

3 saved frames
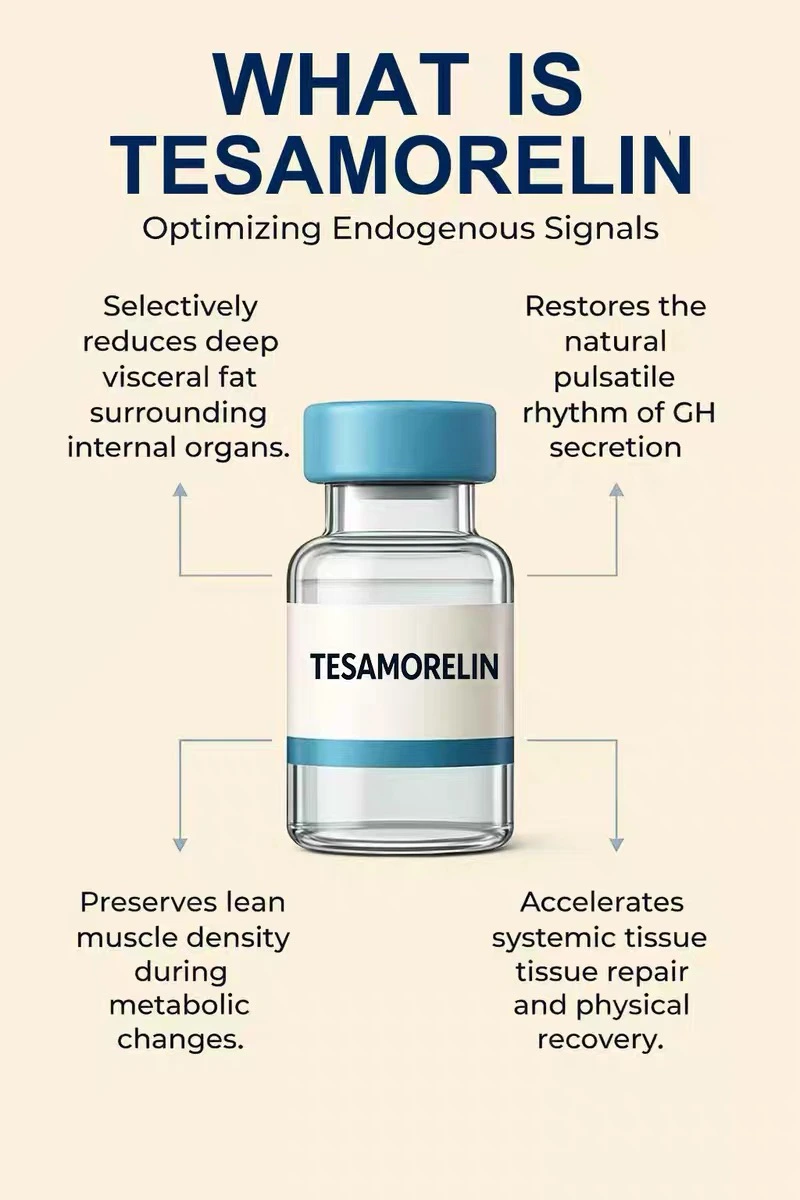
Tesamorelin introduction using a vial illustration and notes about endogenous growth-hormone signaling.
Issue 15 · Repair & growth

Tesamorelin

An original story about upstream growth-hormone signals.

7 saved frames
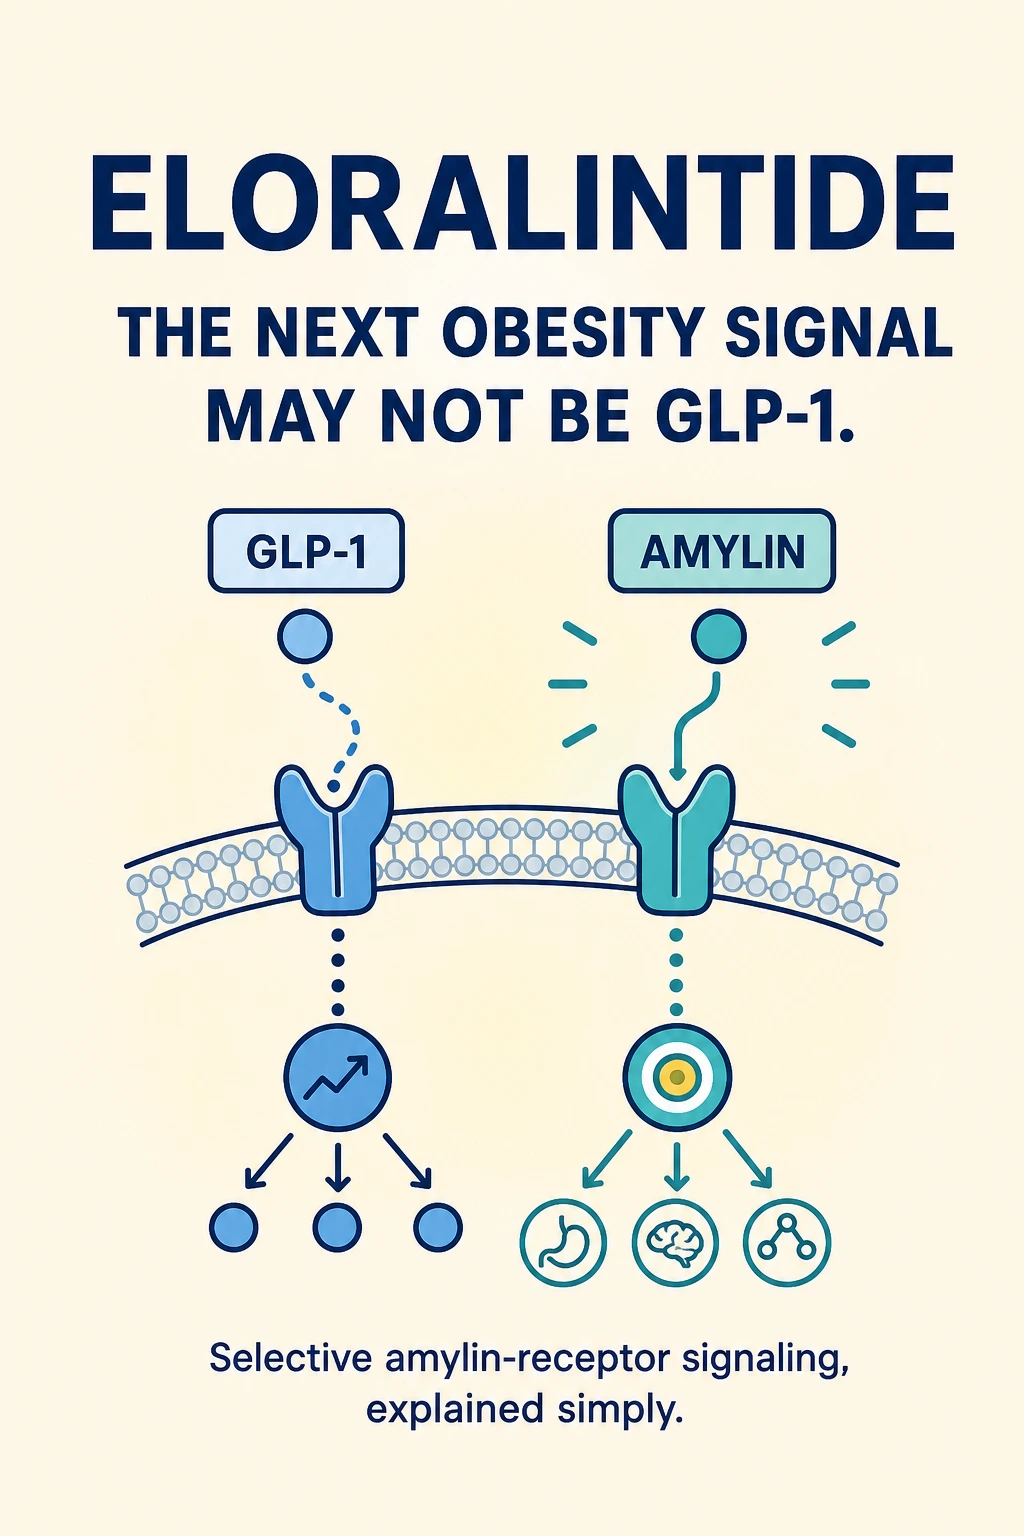
GLP-1 and amylin receptors shown side by side in the Eloralintide visual explainer cover.
Issue 16 · Metabolism & satiety

Eloralintide

A different receptor route into the satiety story.

6 saved frames
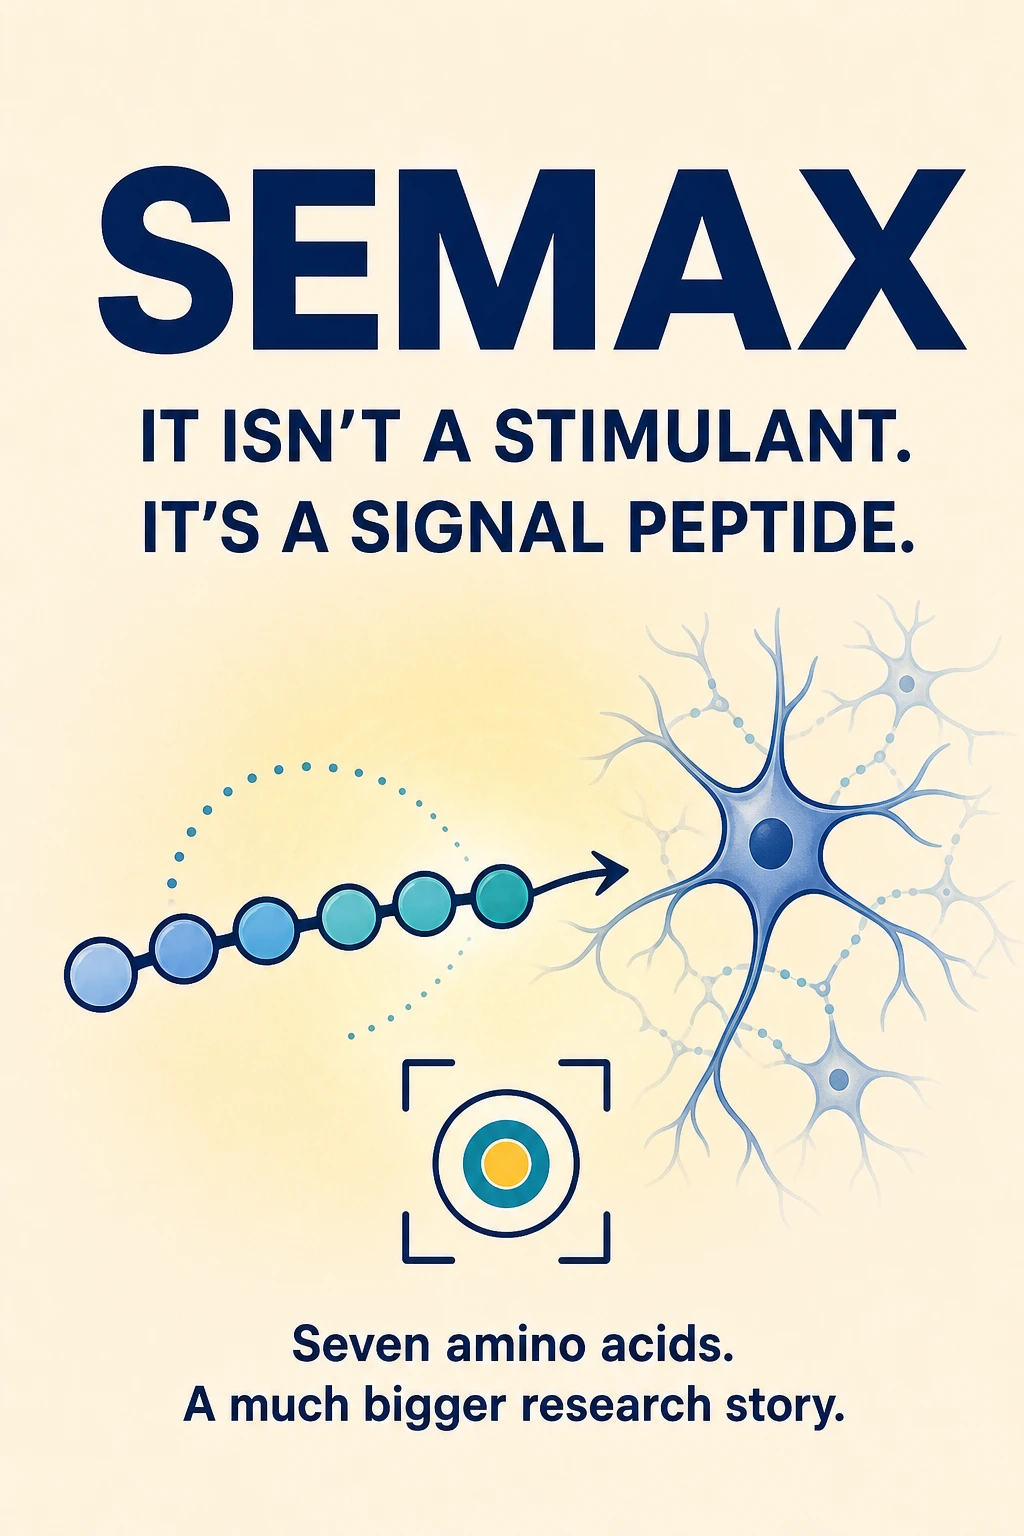
Semax cover showing a seven-unit peptide chain, a neuron and a focus symbol.
Issue 17 · Brain & stress

Semax

Seven amino acids; a much more specific research story.

6 saved frames
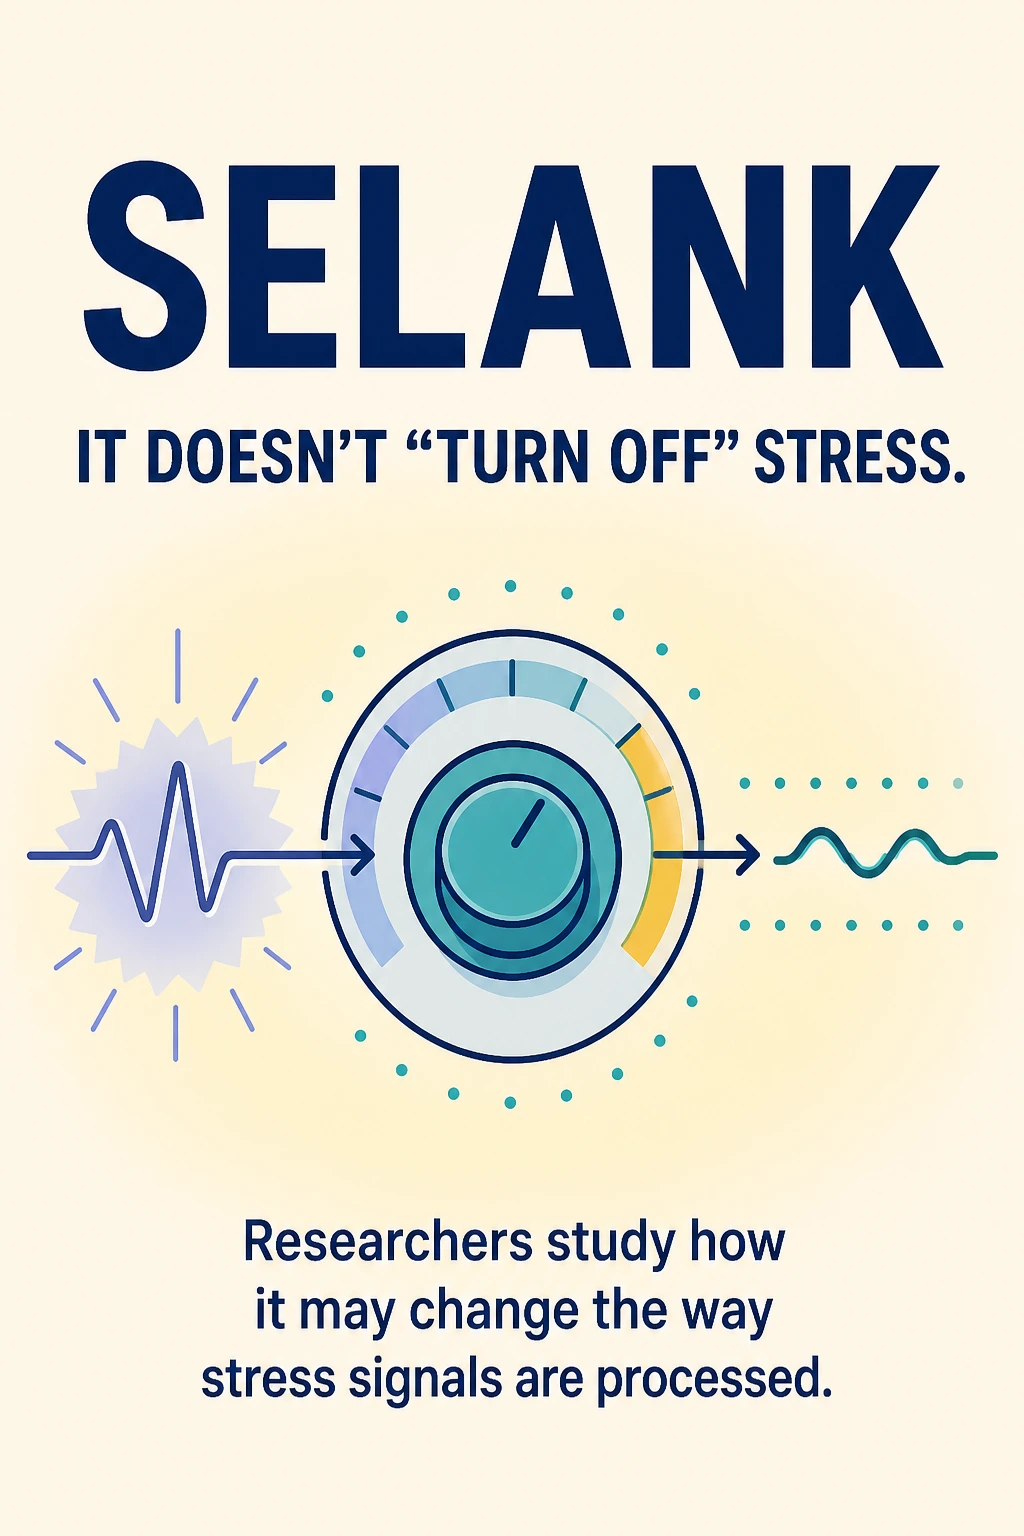
Selank cover using a dial and signal waves to introduce stress-signal modulation.
Issue 18 · Brain & stress

Selank

A signal-modulation hypothesis, with clear evidence limits.

6 saved frames